
How to Make a Ginger Bug - Natural Fermentation Starter
How to Make a Ginger Bug - Natural Fermentation Starter
A ginger bug is your gateway to homemade natural sodas! With just 3 simple ingredients - ginger, sugar, and water - you can create a living fermentation starter that lasts for years and makes the most delicious fizzy drinks.
Recipe Details:
- Prep Time: 5 minutes
- Fermentation Time: 5-7 days
- Total Time: 5-7 days
- Makes: 1 perpetual starter culture
- Difficulty: Easy
- Special Equipment: Glass jar with lid (or cloth and elastic band), plastic bottle for storage
A ginger bug is a natural fermentation starter, similar to a sourdough starter, but for making fizzy drinks instead of bread. It's made by capturing wild yeasts from ginger root and feeding them with sugar and water. Once active, this living culture creates natural carbonation that transforms plain water into delicious, naturally fizzy sodas. The best part? It lasts for years with minimal care, sitting in your fridge ready to make sodas whenever you fancy. All you need to do is feed it occasionally and use it regularly. The process is incredibly simple - just three ingredients mixed together and left on your kitchen counter to ferment. Within 5-7 days, you'll have an active, bubbling ginger bug that smells pleasantly yeasty and gingery. The natural yeasts on the ginger skin and in the air do all the work for you. Once established, you can make endless batches of natural sodas in any flavour you like - cucumber and lemon verbena, mint and lime, berry and basil, the possibilities are endless. It's sustainable, zero-waste, and creates probiotic drinks that are actually good for you. Plus, it's fascinating to watch it come to life!
Why You'll Love This Recipe
- Only 3 ingredients: Just ginger, sugar, and filtered water - nothing else needed
- Lasts for years: Once established, maintain it indefinitely with simple weekly feedings
- Makes endless sodas: Create naturally fizzy drinks in any flavour combination you can imagine
- Sustainable and zero-waste: Reuse the same culture forever, no buying fizzy drinks in plastic bottles
- Natural probiotics: Contains beneficial bacteria and yeasts that support gut health
Ingredients
To Start Your Ginger Bug:
- 10g fresh ginger (with skin on)
- 1½ tablespoons caster sugar
- Filtered water (approximately 200ml to start)
Daily Feeding (for first 5-7 days):
- 10g fresh ginger (with skin on), sliced
- 1½ tablespoons caster sugar
- Filtered water to top up if needed
Weekly Maintenance (once established):
- 10g fresh ginger, sliced
- 1½ tablespoons caster sugar
- Filtered water as needed
Instructions
Starting Your Ginger Bug:
1. Prepare the ginger: Take 10g of fresh ginger - don't peel it! The natural yeasts live on the skin, which is essential for fermentation. Slice the ginger thinly.
2. Combine in a jar: Place the sliced ginger in a clean glass jar (about 500ml capacity works well). Add 1½ tablespoons of caster sugar and pour in enough filtered water to make about 200ml of liquid. Stir well to dissolve the sugar.
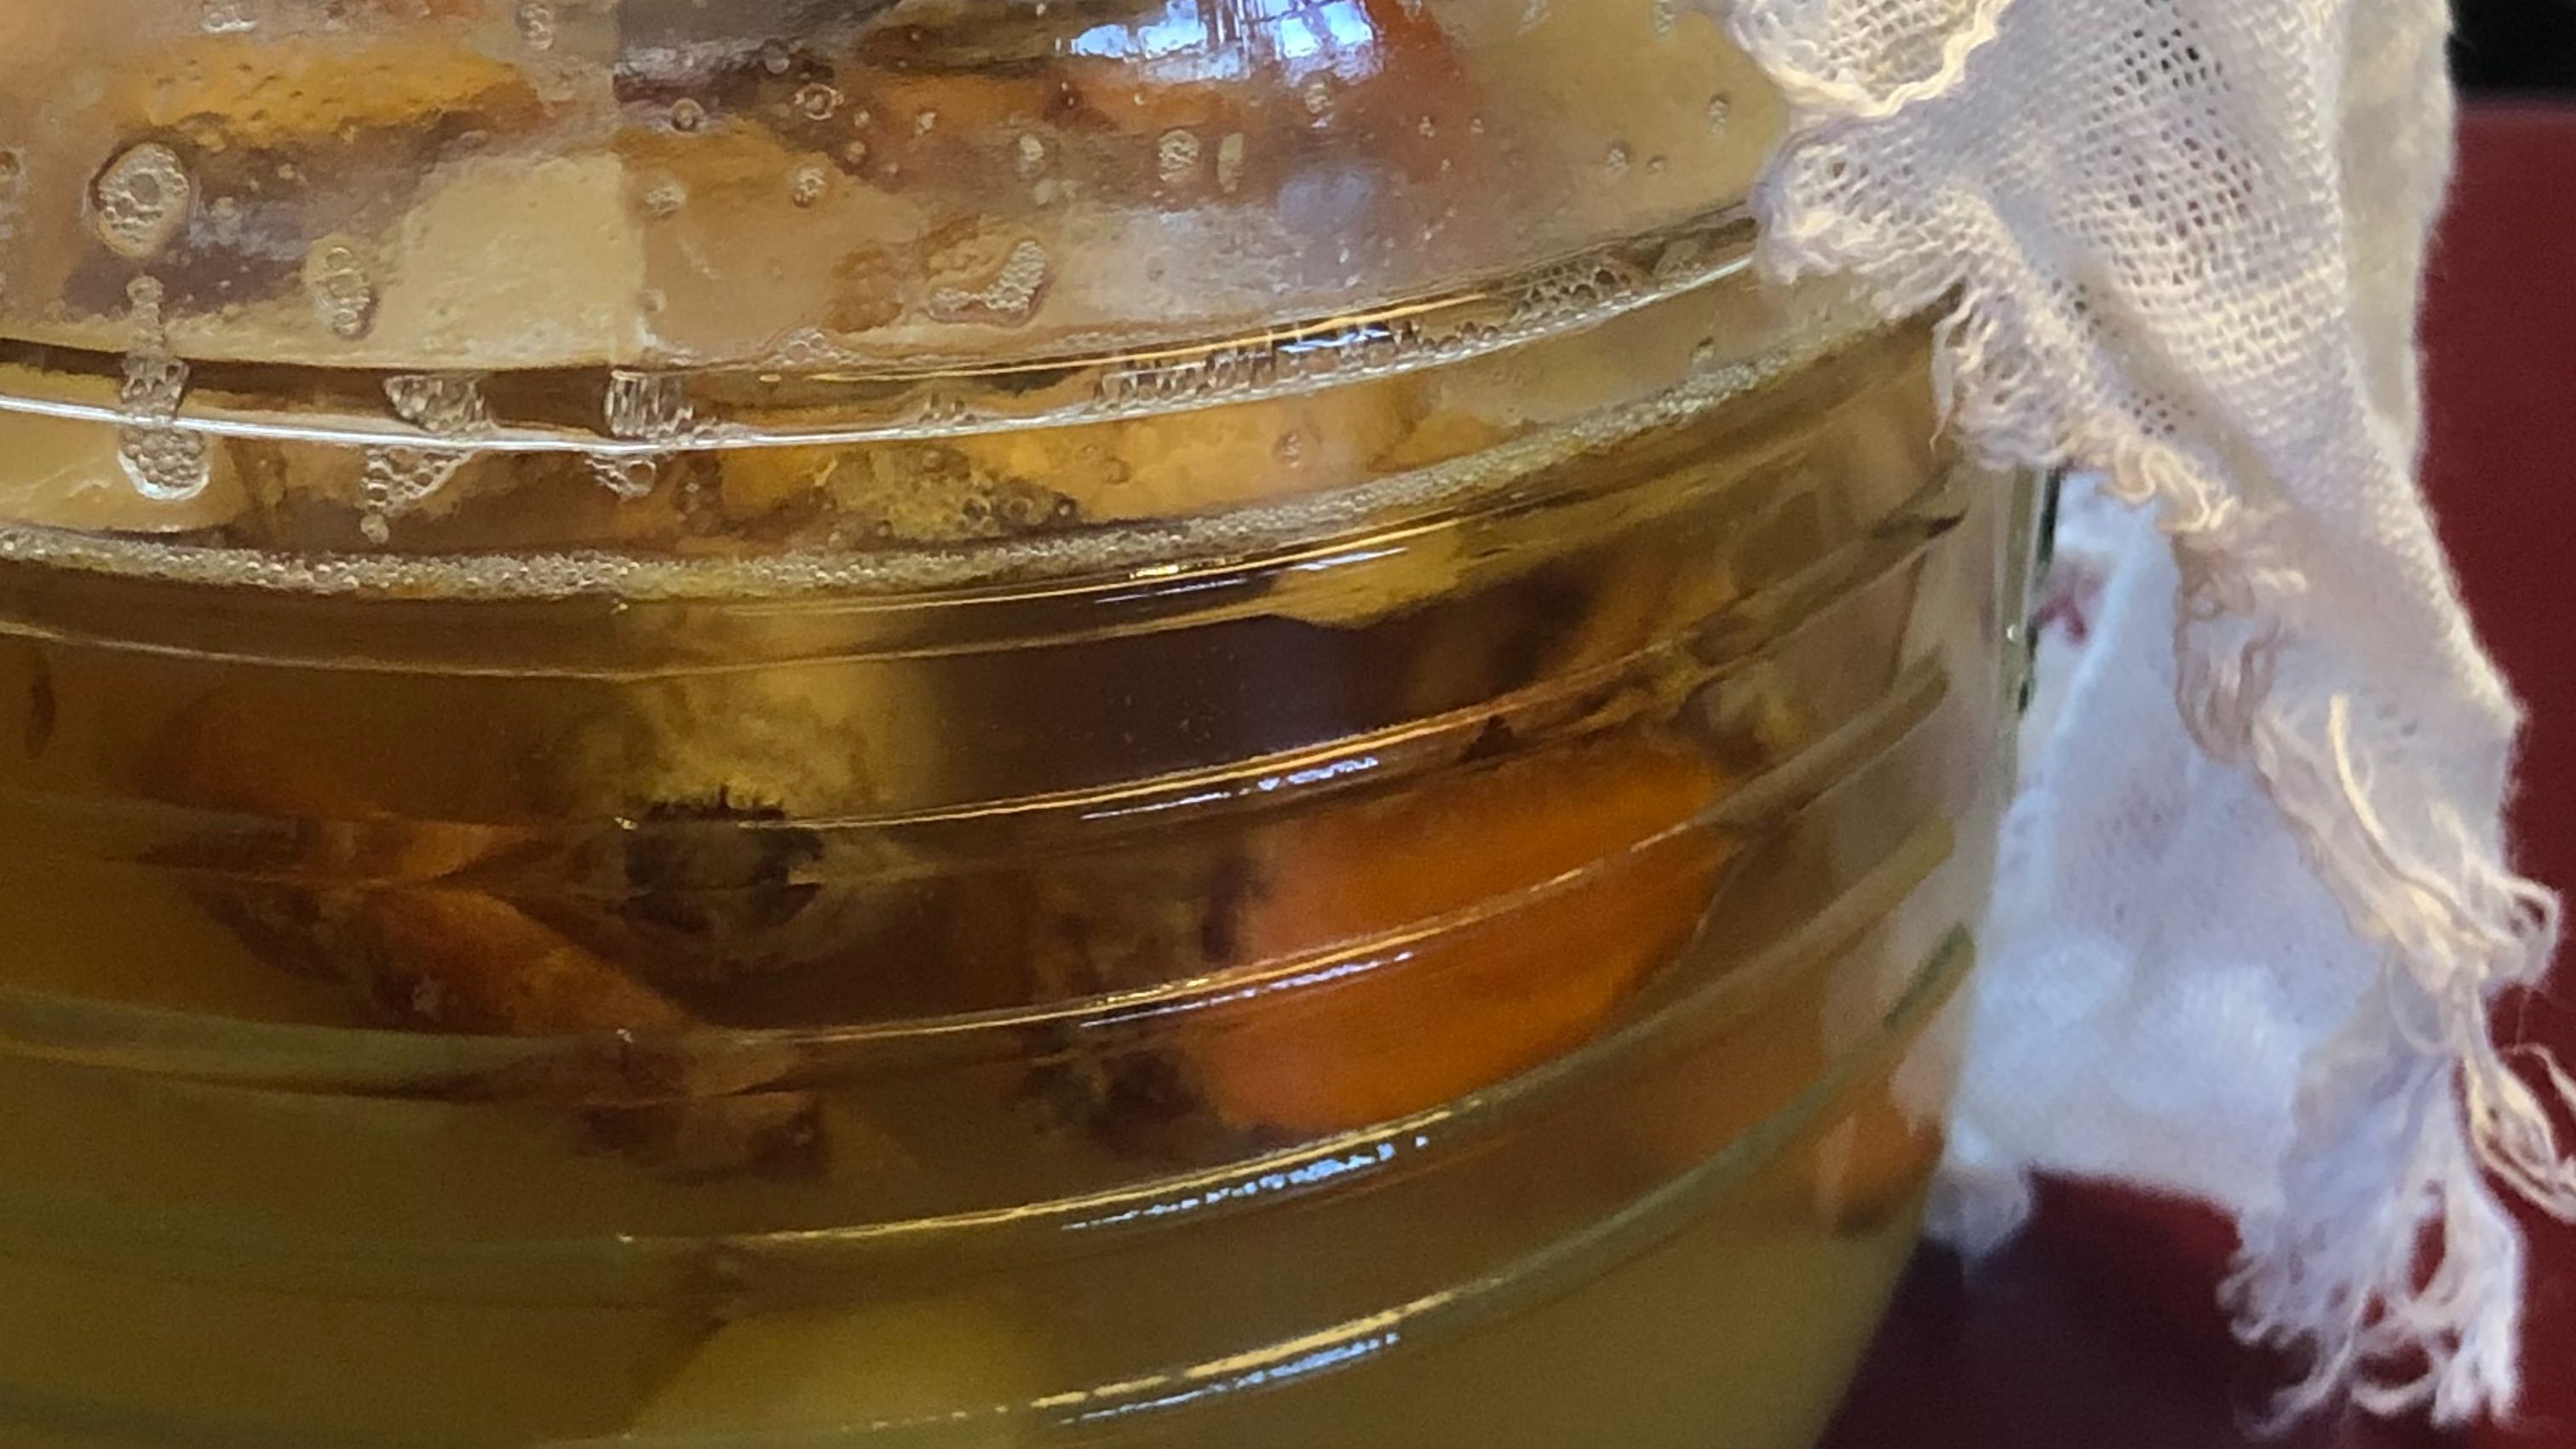
3. Cover breathably: Cover the top of the jar with a clean cloth (muslin or a tea towel works perfectly) secured with an elastic band. Don't use a tight lid - the culture needs to breathe and capture wild yeasts from the air. If you have a jar with a lid that has a hole in it, that works too.
4. Leave at room temperature: Place the jar on your kitchen counter away from direct sunlight. Room temperature (18-24°C) is ideal.
5. Daily feeding - Day 2: The next day, add another 10g of sliced ginger (skin on) and 1½ tablespoons of sugar. Stir well.
6. Daily feeding - Days 3-5: Repeat the feeding process each day - 10g ginger slices and 1½ tablespoons sugar, stirring each time.
7. Watch for activity: By days 3-5, you should start to see small bubbles forming, especially when you stir it. The mixture will start to smell pleasantly gingery and slightly yeasty (like beer or sourdough).
8. Check for readiness: Your ginger bug is ready when it's actively fizzing and bubbling, especially after feeding. When you stir it, you should see lots of tiny bubbles rising. It should smell tangy, yeasty, and gingery - not off or rotten. This usually takes 5-7 days but can take up to 10 days in cooler weather.
9. Transfer to storage: Once active, strain out some of the ginger pieces (leave some in) and transfer your ginger bug to a plastic bottle. Plastic is better than glass for storage because you can squeeze the bottle to check pressure, and there's no risk of explosion. Leave some headspace at the top.
10. Refrigerate: Store your active ginger bug in the fridge. The cold slows down fermentation so it doesn't need daily feeding anymore.
Maintaining Your Ginger Bug:
11. Weekly feeding: Once established and refrigerated, feed your ginger bug once a week. Add 10g sliced ginger and 1½ tablespoons sugar, stir, and return to the fridge. If you're using it regularly to make sodas, the feeding from making sodas counts as maintenance.
12. Replenish after use: Every time you use some ginger bug to make soda, replenish it with equal parts fresh ginger bug mixture (ginger, sugar, and water in the same proportions).
13. Release pressure: If your bottle feels very firm when you squeeze it, carefully open the lid to release excess gas, then reseal and return to the fridge.
14. Long-term storage: If you're not using it for a while, feed it once every 1-2 weeks to keep it alive. It can survive in the fridge for months between uses as long as you feed it occasionally.
Chef's Tips
For the best results: Always use filtered water, not tap water. Chlorine in tap water can kill the beneficial yeasts and bacteria you're trying to cultivate.
Leave the skin on: This is crucial! The natural yeasts that start your fermentation live on the ginger skin. Peeled ginger won't work as well.
Be patient: If your ginger bug isn't bubbling by day 5, don't give up. Keep feeding it daily. Cooler weather can slow things down - it might take up to 10 days.
Use organic ginger if possible: Non-organic ginger may have been treated with anti-sprouting chemicals that can inhibit fermentation.
Temperature matters: Your ginger bug will ferment faster in warmer conditions (around 24°C) and slower in cooler conditions (below 18°C). Very hot conditions (above 28°C) can kill it.
Plastic bottles are safer: For storage and making sodas, use plastic bottles rather than glass. You can feel the pressure building and there's no risk of explosion.
Trust your senses: A healthy ginger bug should smell yeasty and gingery, not rotten or putrid. If it smells bad or develops mould, discard and start again.
Substitutions & Variations
Different sugars: While white caster sugar is traditional, you can use light brown sugar, demerara, or even honey. Each will create slightly different flavours.
Turmeric bug: Make a turmeric bug using the same method but with fresh turmeric instead of ginger for a different flavour profile.
Stronger fermentation: For a more active bug, increase feeding to 2 tablespoons of sugar daily.
Temperature boost: In cold weather, keep your fermenting bug in a warmer spot (like near the boiler or in an airing cupboard) to speed up fermentation.
Storage & Reheating
Refrigerator storage: An active ginger bug lives in the fridge and lasts indefinitely with proper care. Feed it weekly if not using regularly.
If it goes quiet: If your bug stops bubbling after being neglected, bring it to room temperature and feed it daily for 2-3 days to reactivate it.
Taking a break: If you're going on holiday, feed it well before leaving and it should survive 3-4 weeks in the fridge. Feed it daily for a few days when you return to reactivate.
Reviving a neglected bug: If you've forgotten about your ginger bug for months, smell it. If it still smells yeasty (not rotten), try feeding it daily at room temperature for a few days. It might come back to life!
Not suitable for freezing: Don't freeze your ginger bug - it will kill the culture.
Frequently Asked Questions
Q: Why do I need to use filtered water? A: Chlorine in tap water kills the yeasts and bacteria you're trying to cultivate. If you don't have a filter, leave tap water in an open container overnight to let the chlorine evaporate.
Q: Can I use peeled ginger? A: You can, but it won't work as well. The natural yeasts live on the skin, so unpeeled ginger is essential for starting your bug. You can use organic ginger to avoid any concerns about eating the peel.
Q: My ginger bug isn't bubbling. What's wrong? A: Keep feeding it - it can take up to 10 days, especially in cooler weather. Make sure you're using filtered water and the room temperature is warm enough (18-24°C is ideal).
Q: There's white foam on top. Is that mould? A: White foam or kahm yeast on the surface is usually harmless and can be skimmed off. If you see fuzzy coloured mould (green, black, pink), discard and start again. If you are ever unsure, just starter again.
Q: How do I know when it's ready to use? A: It should be actively bubbling and fizzing, especially after feeding. When you stir it, you should see lots of bubbles rising. It should smell pleasantly yeasty and gingery.
Q: Can I make soda straight away? A: No, you need to wait until your ginger bug is actively fermenting (5-7 days minimum). An inactive bug won't carbonate your soda.
You Might Also Like
Lemon Verbena Soda with Ginger Bug - Ready to use your active ginger bug? Make this refreshing, naturally fizzy cucumber and lemon verbena soda!
Enjoy!
Del x
Your ginger bug will last for years with simple weekly feedings. Once you have an active culture, you can make endless naturally fizzy sodas in any flavour you like! Ready to make your first batch? Check out my Lemon Verbena Soda recipe that uses your ginger bug to create a delicious, refreshing, naturally fizzy drink.
Join the Dishes with Del community.
Stay in the loop with new recipes, exciting announcements, anything to keep you away from the washing up!
No spam here. Just tasty recipes!
